🔥 KAMADO BBQ ON FIRE: 1 May 2024 🔥
Kamado Joe techniques

Grilling
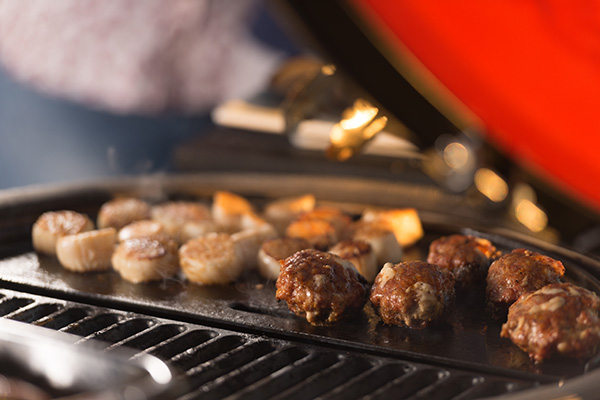
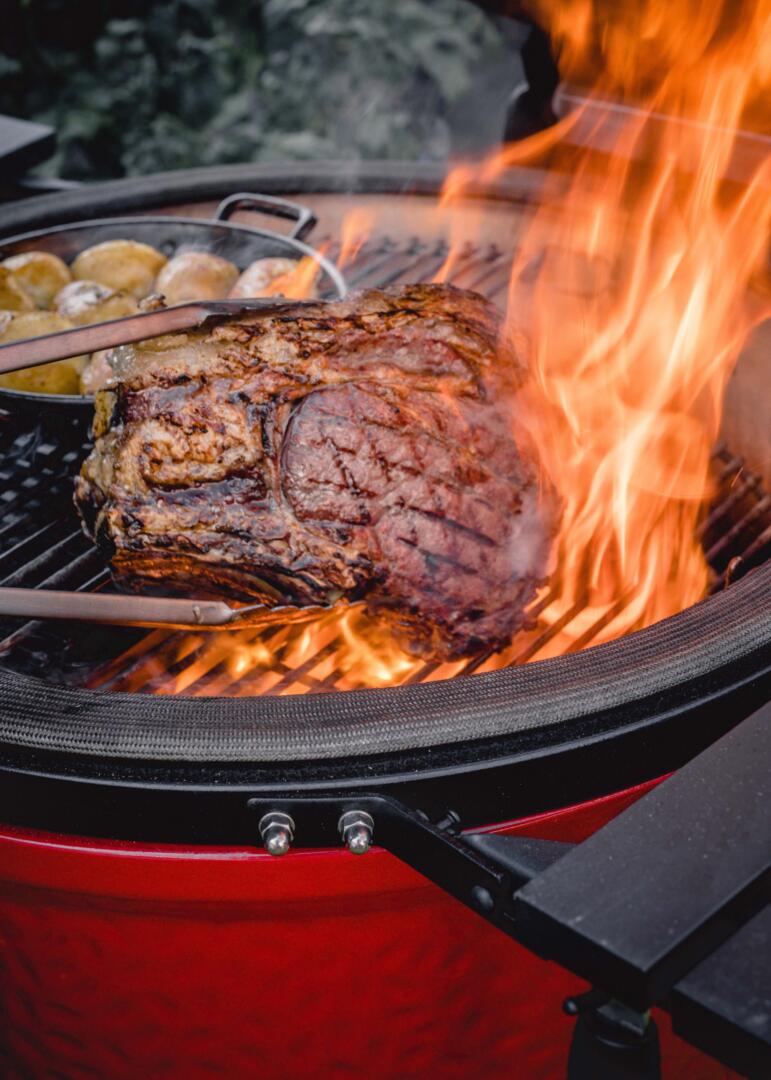
Primarily, the Kamado Joe is a grill. Because of its ceramic construction and unique functions, it is extremely suitable for direct & indirect grilling. You will notice grilling goes very quick and easy thanks to the Divide & Conquer system and the accurate temperature control.
The result? Super tender and juicy meat with that typical BBQ wood fire flavour.
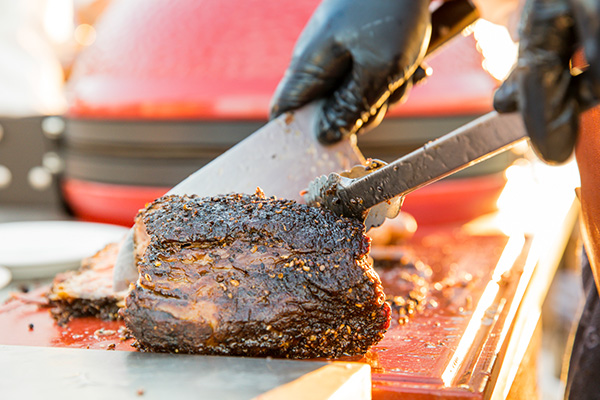
Slow cooking (smoking)
The airtight closure and the high weight of your Kamado Joe allows for very precise temperature control.
This allows you to use your Kamado Joe as a smoker or slow-cooker.
A temperature of 100°C can easily be maintained for 16 hours without refilling your charcoal.


Baking
We are not the only ones who think that the Kamado Joe bakes the tastiest pizzas you’ve ever eaten!
The same goes for bread, lasagna or quiche. Anything you bake in an oven you can also bake in your Kamado Joe.
Once you’ve tasted that unique wood fire flavour, there’s no going back ?
High Heat Searing
A nicely browned sizzling steak from the grill?
It’s possible with your Kamado Joe thanks to the intense heat of the charcoal and the Divide & Conquer system which ensures the use of your grill grates at different heights.
A deliciously tender steak with a crispy brown crust from the grill is a real winner!

Instructions for grilling
Besides the many other culinary possibilities, you can also use the Kamado Joe as a classic BBQ for grilling.
You will notice that this is very easy and convenient thanks to the Divide & Conquer system and the accurate temperature control.
Follow this method for standard BBQ-grilling.
Working method
- Before each use, always shake up your charcoal so that the ashes fall off, empty the ash tray and fill it with fresh ‘Restaurant Grade’ charcoal.
- For standard BBQ grilling, 180°C is the recommended temperature. To do this, light the Kamado Joe with three firelighters which you place on top of the charcoal.
- After lighting, you may immediately close the lid, but immediately open the upper and lower ventilation openings fully. Grill grids may already be placed in the appliance so that they can also heat up.
- Wait until your Kamado Joe has reached a temperature of 180°C. Then close the bottom air vent to an opening of 2.5 cm and close the Top Vent to an opening of one and a half cm.
- Now open your Kamado Joe and place one half moon heat shield in the Flexible Cooking Rack. Make sure the heat shield does not touch the charcoal.
- Place your grids back, brush over them again with the Brass BBQ Brush, put some peanut oil on kitchen roll and lubricate the grid with it. This will remove the soot and put a non-stick coating on your grid.
- Now you are ready to grill meat and vegetables, use the open (direct) side to give colour and the indirect side above the stone to allow your food to cook further without burning.
- When you’re done, don’t forget to re-sand and grease your grid with peanut oil, then leave it in the appliance so the oil can bake into the metal and form a protective layer for your grid.
- Finally, close the lid and all ventilation openings. This way, the charcoal goes out and is saved for your next cooking session!
- Bon appetit!
Instructions for Low & Slow Cooking
Your Kamado Joe is perfect for slow-cooking and smoking meat. In this typical American way of BBQing, we let the meat cook for a very long time at a low temperature of 100°C so that it becomes super tender, but also remains incredibly juicy. A unique and unrivalled taste sensation!
Do you have a SloRoller? If so, be sure to use it for all your low & slow preparations; it will ensure the best possible result!
Procedure
- Before each use, always shake up the charcoal so that the ashes fall off, empty the ash tray and fill it with fresh charcoal.
- For slow cooking, use the harder, more aromatic charcoal such as our Big Block from Kamado Joe!
- To maintain a temperature of 100°C, light the Kamado Joe with just one lighter placed on top of the charcoal.
- After lighting, you may immediately close the lid but immediately open the upper and lower ventilation openings fully. Grill grids may already be placed in the appliance so that they can also heat up.
- Wait until your Kamado Joe has reached a temperature of 100°C. Then close the bottom vent to an opening of 4mm and close the Top Vent to an opening of half a line so that only a small triangular opening remains.
- Now place the smoking wood chunks on top of the charcoal (type and amount according to recipe).
- Next, place the two Half Moon Heat Deflectors in the Flexible Cooking Rack or use your SloRoller.
- Optional: fill a drip tray as indicated in your recipe, this can be with water but also with apple juice, wine, beer in combination with fresh herbs.
- Place your drip pan on the accessory rack in the lowest position between the heat shields (or SloRoller) and grids in your Flexible Cooking Rack.
- Place the half moon stainless steel grids back into your Kamado Joe and then your meat on top.
- Insert the probe of your core thermometer into the meat, always trying to get the tip nicely in the middle of the meat. Do this by inserting the probe horizontally.
- Wrap your meat with Butcher Paper according to the recipe. This is better for the BBQ crust of the meat and more hygienic than aluminium foil.
- When the desired core temperature is reached, remove the meat from the grill and allow to rest as directed in the recipe.
- Bon appetit!
Instructions for baking pizza
The Kamado Joe is perfect for baking delicious pizzas at a high temperature so that you get a wonderfully crispy base and the real ‘al forno’ wood fire taste like in the best pizzeria!
Method
- Before each use, always shake up your charcoal so that the ashes fall off, empty the ash tray and fill up with fresh charcoal.
- To bake pizzas in your Kamado Joe, use our Restaurant Grade Charcoal.
- Light the Restaurant Grade charcoal with 3 firelighters.
- After lighting, immediately close the lid, but fully open the top and bottom vents.
- Wait until your Kamado Joe has reached a temperature of 350°C. Then close both the bottom vent and the top vent halfway.
- Place the top ‘Accessory Rack’ in the highest position in the ‘Flexible Cooking Rack’.
- Place the two ‘Half Moon Heat Deflectors’ on top and your pizza stone on top.
- Now let the temperature rise back up to 350°C and wait 10 minutes so that the pizza stone and the dome of your Kamado Joe are also well heated. You need the reflective heat from the dome to bake the top of your pizza.
- Before you bake your pizza, check if the stone is hot enough, it should be 250°C. You can measure this with an infrared thermometer.
- Place the pizza on the pizza stone using the pizza scoop.
- Turn the pizza a quarter turn after 3 minutes and check the bottom to make sure it does not burn.
- If the temperature of the Kamado is right, the pizza is ready. If not, check again within two minutes.
- Keep the lid closed as much as possible, so that no heat is lost.
Tip: If you use two pizza scoops, you can always prepare another pizza while the previous one is baking. The baking is then smoother and you save on charcoal!
Instructions for High Heat Searing
One of the advantages of a Kamado Joe ceramic BBQ is that you can fry excellent steaks with it, just like the real grill restaurants. A deliciously tender steak with a crispy brown crust from the grill is a real winner!
Method
- Shake up the charcoal before each use so that the ashes fall off, empty the ash tray and fill up with fresh charcoal.
- To cook steak on your Kamado Joe, use our Restaurant Grade charcoal.
- Light the Restaurant Grade Charcoal with 3 firelighters.
- Place the cast iron grids in the kamado so they will heat up.
- After lighting, you may close the lid immediately, but immediately open the top and bottom vents fully.
- Wait until your Kamado Joe has reached a temperature of 100°C. Then reduce the bottom vent to a 4mm opening and the top vent to half a line.
- Scour the grids with the Brass BBQ Brush and grease the grid with peanut oil.
- Place the heat shields in the appliance. To get an extra taste effect, you can first put oak chips on the glowing charcoal. This will give the steak a deliciously light vanilla flavour.
- Place the steak on the grill and monitor the core temperature with a BBQ thermometer.
- Close the lid and let the steak heat up indirectly to the desired core temperature.

- Keep in mind the temperature table to determine the right cooking of your steak. You will notice that the temperature during the first indirect phase is lower than the final temperature. This is because your core temperature will rise a little during the searing process.
- When the desired temperature is reached, remove the steak from your Kamado Joe, wrap it in butcher paper and let it rest.
- Then take the heat shields out of the kamado, place the cast iron grids in the lowest position and open the air supply above and below to the maximum until you have reached a temperature of 250°C. The steak has had time to rest.
The steak has rested and is now ready to be seared. - Place the steak on your cast-iron grill. And grill for 1 minute. You can leave the lid open for this, unless you want to cook the steak a little further then close the lid.
- After 1 minute, turn your steak 90° to get the familiar checkered pattern, the sear marks.
- Repeat this step on the other side of your steak.
- After this, your steak is ready and you can serve it immediately. After all, we have already rested the steak and by serving it immediately, the crust remains nice and crispy!
- Bon appetit!

